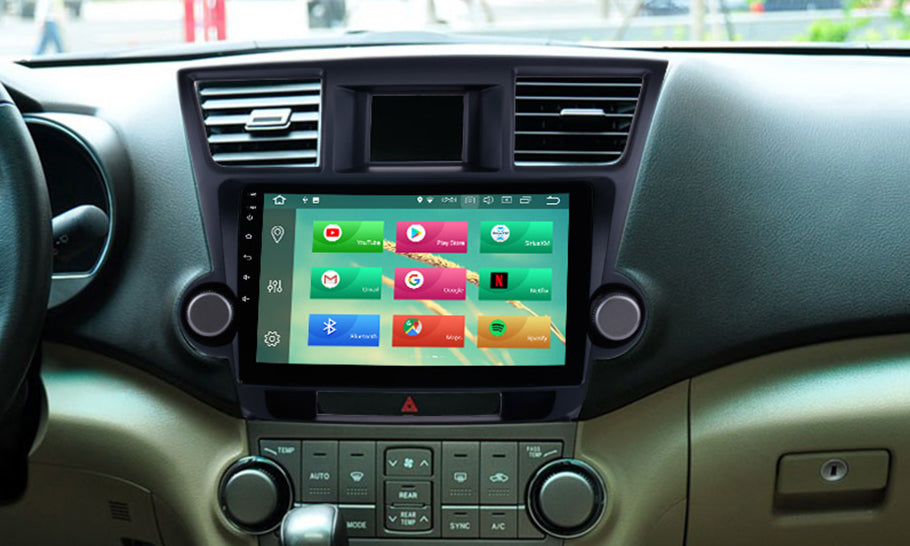
If you want to use the navigation system to upgrade the Toyota Highlander factory stereo, you can take a look at our least new Toyota Highlander DVD player navigation, which includes an 8-core 1.5ghz CPU, 32GB flash memory, 4GB ROM, a 10.1-inch high definition capacitor screen, 1024 * 600 resolution, and is based on the Android 8.1 operating system.
The Toyota car stereo is easy to install, and you can even install it yourself, if you have previous experience. If you don't know how to install it, go to the Toyota car aftermarket and install it. In general, first remove the factory car stereo on the dashboard, then unplug all the cables in the back, then replace it with the new Android Toyota highlander navigation header unit, plug in the new cable, push it back into the dashboard.
The following are step-by-step installation instructions and pictures for your reference:
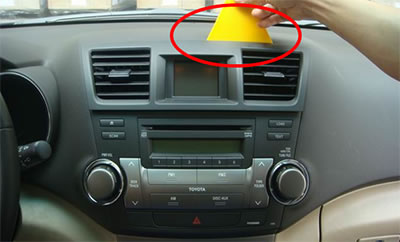
1) use special installation tools to pry out the vent.
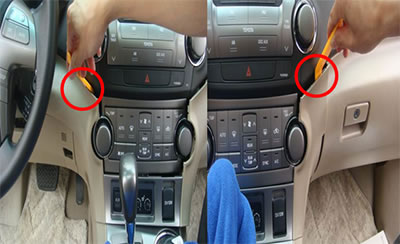
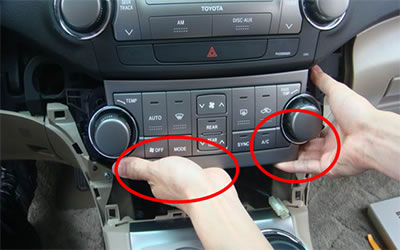
2) pry open the decorative edges on the left and right sides, and then pull out the decorative edges carefully.
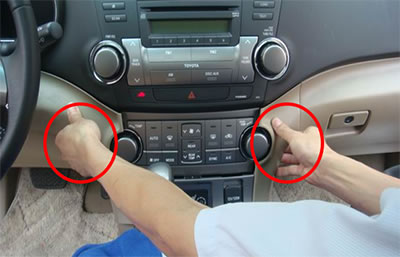
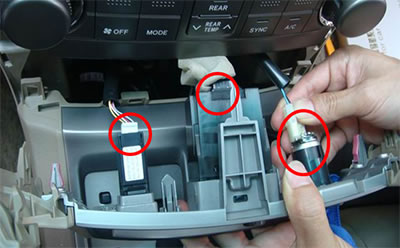
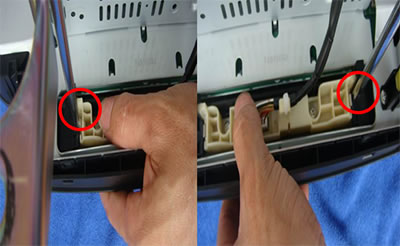
3) unplug the cable behind the climate control and ashtray, including the switch for the climate control and ashtray, then unplug the three plugs for the climate control and pull out the climate control panel.
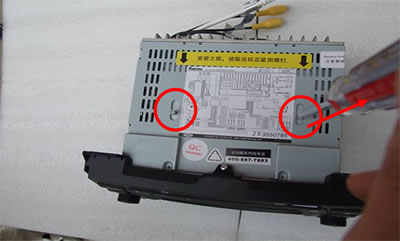
4) use # 10 socket wrench to remove the 4 screws fixing the Toyota highlander car sound in the factory, pull out the plant unit, and pay attention to the buckle ring.

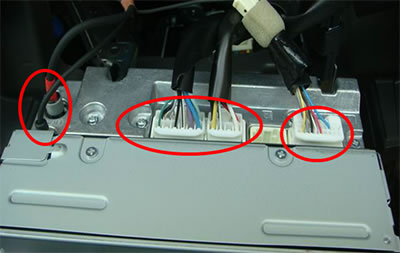
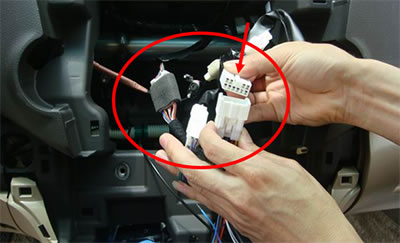
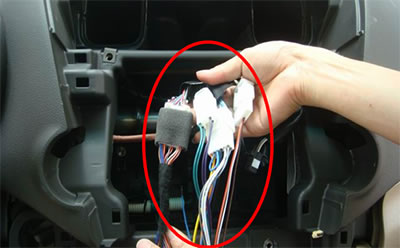
5) unplug all the plugs behind the Toyota highlander stereo at the factory.
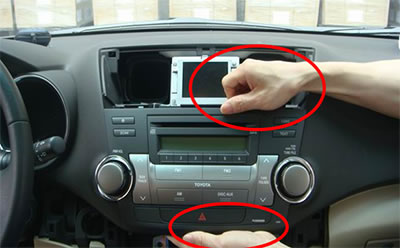
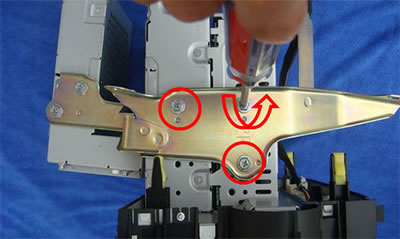
6) so you can now remove the radio unit of the factory, remove the three screws on the left and right sides, and remove the brackets on both sides.
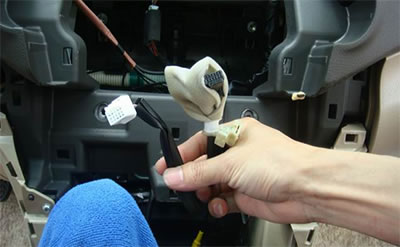
7) use a straight screwdriver to pry out the switch socket of the hazard warning light, and then remove the hazard warning light.
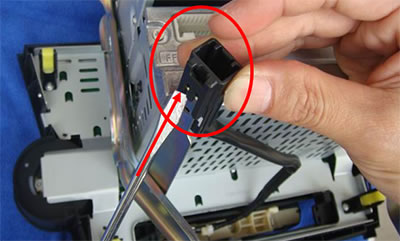
Install hazard warning lights in the new Android Toyota Highlander navigation device.

8) remove two screws from the top of the new Android device. Otherwise, CD or DVD cannot be fully inserted into the device.
9) install 2 brackets in the new Android navigation unit, install the switch socket of the danger warning light, then connect the new plug at the back of the device, connect the other end to the wiring harness of the car, and connect a small white plug of the can-bus decoder.
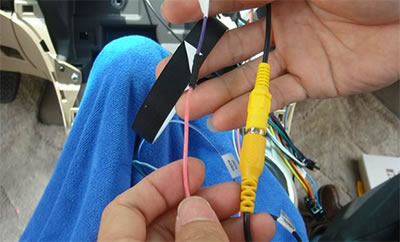
10) use 12V reverse light to connect the reverse line (BACK +), and connect the camera-in line with the video line of the reverse Camera.
11) slowly push the new Toyota highlander Android DVD navigation into the dashboard and fix four screws. Install climate control panels and vents.