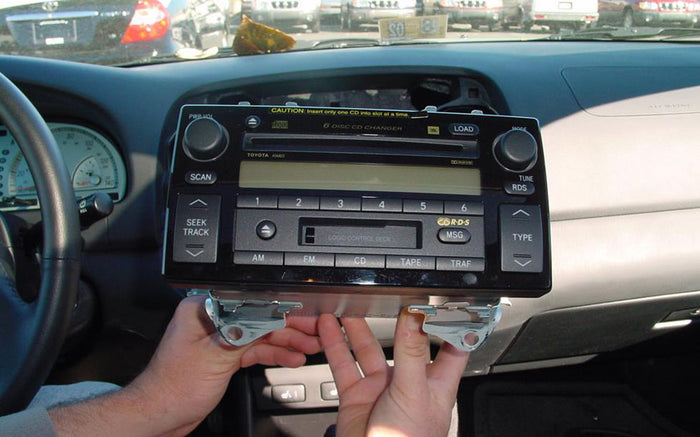
Toyota Car Stereos
Replace your Toyota factory radio with a fully featured aftermarket Toyota car stereo.
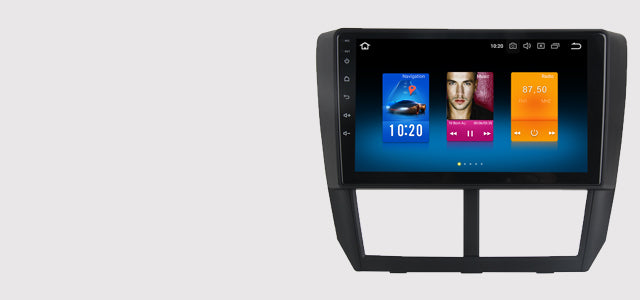
Our best-selling android car dvd players with gps navigation system.
Every day we pick a product at random and make it an incredible deal.

A selection of already discounted Android Car Stereo and Stereo Install Kit.

When you spend more than $400 in-store and online with code 'GET10'.
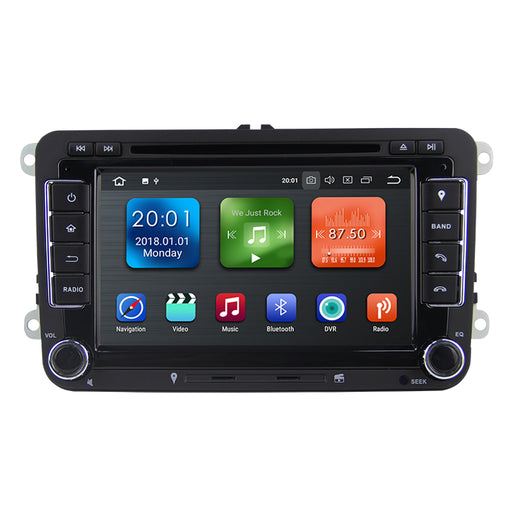
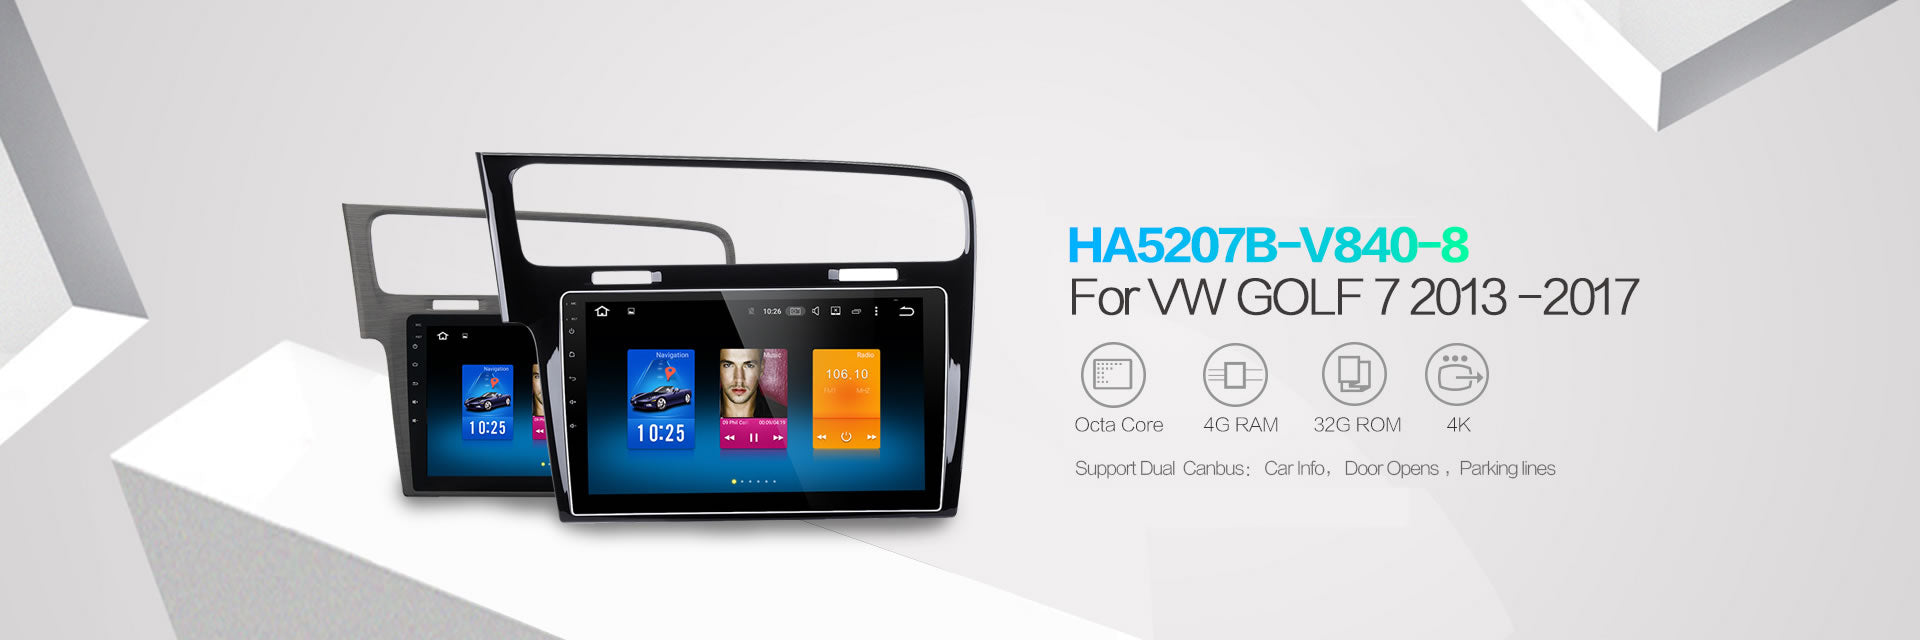
Volkswagen Skoda Magotan Passat Jetta Golf Universal Android Car Stereo 1024*600 HD Capacitive Touch Screen, Quad Core Cortex A35 1.5GHz CPU, 2GB R...
View full details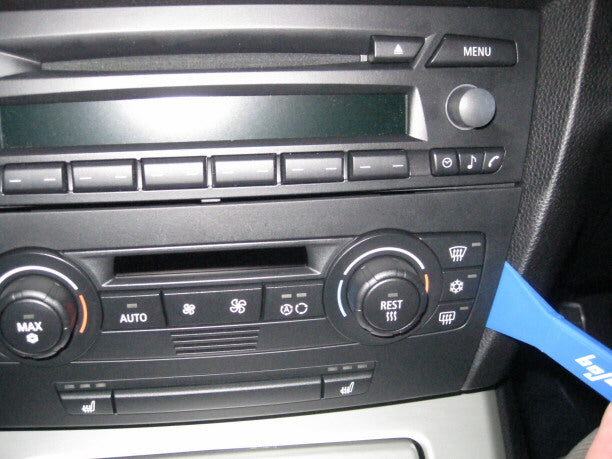
1. First remove the heater control by pry open the left and right side.2. Then remove the two screws that hold the radio.3. Pull out the radio. Disconnect the left multi-plug by releasing the plastic retaining rod upward. Press the...

BMW Mini Cooper stereo system can bring great changes to the way you drive and get comfort from your car. Not only music, but also GPS navigation, news and broadcast, alerts and phone conversations, you should look for a convenient...
When you drive a car to travel with family or friends, you must play some music, TV programs or movies, so that everyone can relax on the road. In this case, you must install a multifunctional head device with entertainment...